A canvas print that arrives rolled, with a generous border of blank canvas around the image, is a lovely thing. Give it an afternoon and a set of wooden stretcher bars, and it becomes something you can hang without glass, without a mount and without a framer's invoice. The job is not difficult, but it is unforgiving in one respect: tension has to be built up evenly, a little at a time, working from the middle outwards. Rush it and the print pulls out of square or ripples along one edge. Take it steadily and you end up with a taut, drum-like surface and corners that look deliberate.
Gather the Right Kit First
Most of the frustration people hit halfway through a stretching job comes from missing tools, not from technique. Lay everything out before you unroll anything.
- Stretcher bars — two pairs, cut to the image size, not the outer canvas size. Look for kiln-dried pine or fir with proper mitred corners, and buy bars deep enough to look substantial on the wall (20mm is common, 38mm looks more like a gallery piece).
- A rubber mallet, or a hammer and a scrap of softwood to protect the bar ends.
- A staple gun with 8–10mm staples. A manual gun is fine; an electric one saves your wrist on larger pieces.
- Canvas pliers if you can find them, otherwise flat-nosed pliers with a folded cloth over the jaws.
- Tape measure, pencil, set square, scissors or a craft knife and mat.
- A clean sheet or blanket over a hard, flat table. Work on carpet and you will struggle to get even tension all the way round.
Unroll the print and let it relax flat for an hour or two before you start. Canvas that has been rolled tight for weeks will fight you if you try to stretch it straight away.
Build the Frame and Check It Is Square
Stretcher bars usually butt together with a tongue-and-groove profile at the mitred ends. Join two corners first, then the other two, and tap them home gently with the mallet. You want them tight, but a heavy hand will split the timber.
Before you go near the canvas, check the frame for square. Measure corner to corner across both diagonals; the two figures should match to within a millimetre or so. If they do not, a light tap on the long corner usually brings it back. A frame that is out of square by even a few millimetres will show up as a print that looks skew-whiff on the wall, and no amount of clever folding will hide it.
If your frame has a raised outer lip, make sure it faces outwards so the canvas edge tucks behind it. Fit any central brace now, too — you cannot add one later.
Work Out the Wrap Allowance, Then Cut
This is where prints get ruined. The border around the image has to cover three things: the depth of the bar, the turn onto the back, and enough fabric to grip with staples. A workable rule for a 20mm bar is roughly 50mm per side. For a 38mm chunky bar, allow 65–70mm.
So a 40 × 50cm picture on 20mm bars needs a canvas of about 50 × 60cm. Measure the allowance from the printed edge outwards, not from the canvas edge inwards — the border is almost never perfectly even, and you want to keep the image centred.
Trim with long, straight cuts. Leave yourself an extra centimetre if you are unsure; you can always take more off later, and it is far easier to trim excess fabric at the corners once the canvas is on.
Tension the Canvas in Stages
Place the frame face down on the canvas, positioning the image where you want it, then start stapling. The order matters more than the force.
- Staple once in the centre of the top edge, then once in the centre of the bottom edge.
- Repeat on the left and right edges, so you have four staples holding the canvas in a cross.
- Work outwards from each centre staple in steps of about 50mm, always alternating sides: top, bottom, left, right.
- Keep staples roughly 10mm in from the cut edge and about 40–50mm apart.
- Pull each section with the pliers before stapling, but no harder than you need to remove the slack.
Leave the corners completely free at this stage — the last 80–100mm on each side should stay unstapled. Turn the frame over after every few staples and check the printed lines against the edge of the bar. If the image starts to skew, stop and pull the staples from that side rather than trying to pull it back into line.
When you press the front with your thumb, the surface should feel firm with a little give. If the weave looks distorted or the bars start to bow, you have gone too far.
Fold Corners That Look Considered
A neat corner is a matter of folding, not stretching. With the corner pointing towards you, pull the loose fabric diagonally over the corner of the bar. Lay the flap flat against the back of one side and fold the surplus into a tidy pleat, then hold it and staple it down with two or three staples close together, 10mm from the bar edge. Repeat on all four corners, keeping the pleat the same size and direction each time so the back looks consistent.
When you turn the frame over, the front face across the mitre should be smooth and flat, with no bulge and no gap where the fold pulls away from the bar. Trim the loose corner fabric back to about 20mm and tap the pleats flat with the mallet. If a corner has come out lumpy, remove the staples with a staple remover and refold it — the canvas will take one or two attempts without harm.
Final Tension, Backing and Hanging
Once all four corners are in, go back round the edges and add a few extra staples between the originals, working outwards again. Fine-tune any soft patch by adding a single staple and a gentle pull. Avoid the trick of misting the back of the canvas to shrink it tight: on printed canvas it can leave tide marks and distort the image, and it is far safer to remove staples and re-tension.
For a clean finish, cover the back with a sheet of kraft paper or foam board, then fit two D-rings about a third of the way down each side and run a hanging wire between them with a little slack. Use fixings rated for the weight and anchor them into a stud, a solid wall or a proper plasterboard plug — a stretched canvas is heavier than it looks, and it will be above something you care about.
Where People Go Wrong
Three habits cause most of the trouble. Cutting the border too tight before the frame is built; working round the edges in one direction instead of in pairs, which pulls the print out of square; and over-tightening to fix a wrinkle instead of removing the staples and starting that edge again.
If your print has no border at all, or is mounted on rigid board, it cannot be wrapped — that one needs a framer. The same goes for anything much over 90cm on the long edge, or any piece on valuable or delicate paper, where a professional with a proper stretching table will do a better job than a kitchen table and a staple gun. For everything else, take your time, work in small stages, and you will end up with a print that looks like it was always meant to hang frameless.
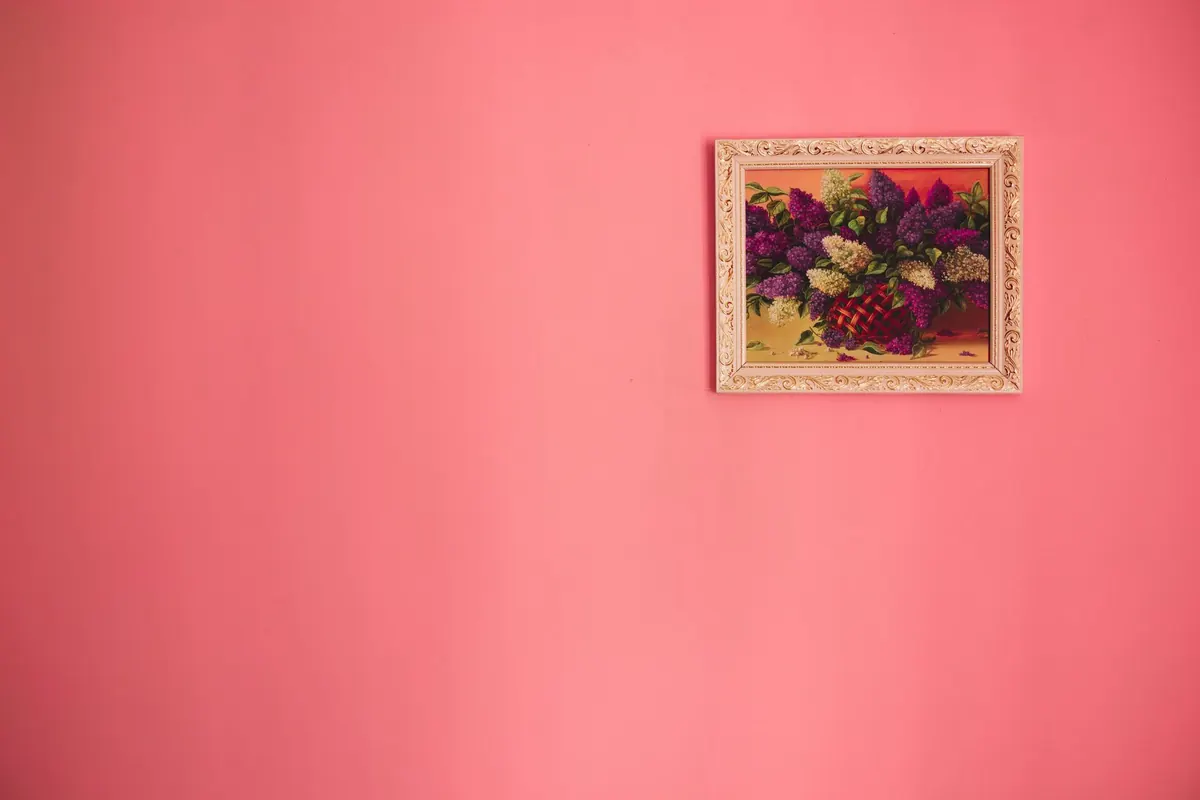
Photo: Romka / Pexels